Re-Using PC Power Supplies
--A quick note from another friend
Re-purposing old PC power supplies has long been an inexpensive solution to our low-voltage power requirements. Lots of people must be doing this for various needs and so the market has responded with a way to make it easier,.
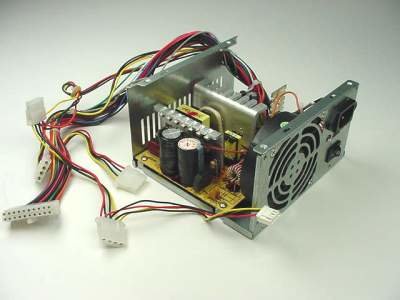
To simplify re-using old PC power supplies for your projects, there are now adapters that plug into the power supply’s connectors and break-out the various voltages available. Here are some examples:


Ntice that one of these even has fuses on the output! These seem to run $10-$20 on eBay and Amazon. Search for “PC Power Supply Connectors” to find them. I love it when a plan can be skipped because someone has already done the planning for me! –Don Merz
Buck/Boost Power for Your Bench
--A project from PARS' friend John Will
This “new” power supply design is worth looking at. I’ve put the word “new” in quotes to indicate that this design is probably much older than I realize. So the design is “new” only to me! I’m always the last to know! The nice part is that it seems to be becoming inexpensive to implement.
The new design is called a “Buck/Boost Power Controller”. In a Buck/Boost design, you can feed the controller an unregulated DC voltage above or below the voltages you want from the supply. The output is the voltage you want, fully regulated and completely stable. Sound useful? My friend John Will has taken this further than me so I’ll defer to him (thanks John!):
I spotted these cool DC-DC Buck/Boost power modules with tons of features on eBay. With an output voltage range of 0.6VDC to 36VDC, and a max output current capacity of over 5 amps, they seem to have pretty much all I’d need in a bench supply. They do constant voltage, constant current, and have a really accurate digital display of both voltage and current. You can also graph the voltage and current output for analyzing external circuit performance, pretty neat.

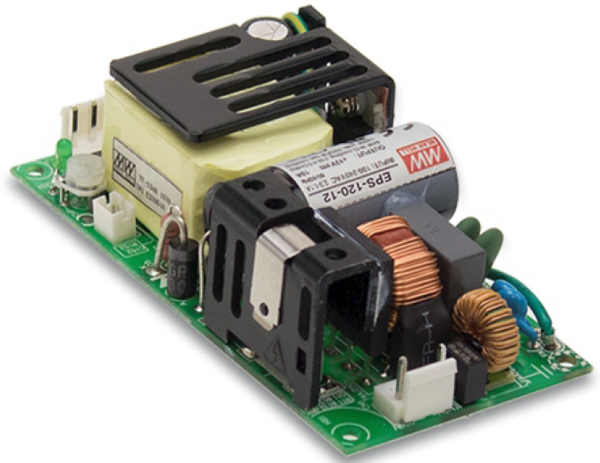
Of course, one of the little issues is they require DC input as well. I hunted around and found this 120W 24VDC switcher that looked like a good fit to provide the input power. This little gem puts out 24 VDC at 5 amps with 120VAC in.
Both the buck-boost and primary switcher have a host of protection features, so I think this should be a pretty decent source of bench power.
I shopped around and found a case on Jameco, it was a tight fit, but I managed to get all of the stuff in. I also needed a small cooling fan if I push this unit very hard, so I added that. Banana jacks salvaged from a dead model train controller and a power switch round out the picture.
If one of these nice power supply modules is good, two would obviously be better, right? Of course, so two it is! ![]()

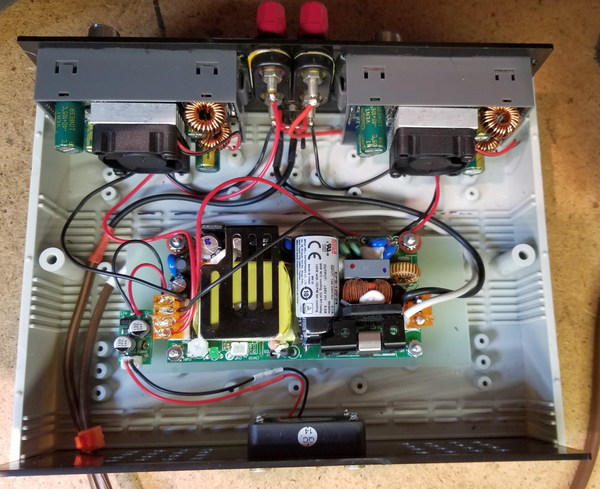
I actually bought two cases from Jameco, this is the smaller one, and I got a larger one as well. Since I could squeeze all of the stuff into the smaller case, I decided that limiting the bench space it consumed would be a good idea. As you can see, the front panel doesn’t have any more room, it really is stuffed! However, I did want to fit the dual banana jacks for ease of use, so this was the only layout that everything would fit in.

The interior is pretty straight forward. Since I had no idea how hot the primary 120W supply might get, I added a fiberglass plate and mounted it on some standoffs to allow ventilation all around.

An 80mm ball bearing fan blows directly on the primary supply and I provided generous exhaust vents to allow air circulation. Since I had the grill laying around, I thought it was a nice touch. ![]()
One little disappointment in the primary power supply. It conveniently included a 12VDC fan output, only that output didn’t work! ![]() So, I added a little regulator module to drop the 24V to 12V for my fan. I thought of a resistor, but the fan consumes 75ma, and it was a pretty big resistor, so I just dropped in the little regulator module.
So, I added a little regulator module to drop the 24V to 12V for my fan. I thought of a resistor, but the fan consumes 75ma, and it was a pretty big resistor, so I just dropped in the little regulator module.

Since there are two of these modules feeding off one primary supply, I figured that one would not max out the primary 120W supply. Truthfully, it’s probably going to be a very rare occasion I’m pulling 5 amps from one of these, and certainly not 5 amps from both sides.
I ran one of these up to 4 amps at 8 volts, it worked, but it was getting warm. The input voltage at the time was from a 10A bench supply at 24 volts, I was pulling just about 2 amps from the 24V input supply. The little fans kick on when needed, and in the case, the case fan runs whenever power is on.
Finally, notice that in my two-output design, the negative side is common. You might prefer the outputs to float. But that would require two input supplies.
Now I have all the bench power I need!
–John Will, Henning’s Trains
Postscript:John later told me that programming the meters on the buck/boost modules was a tedious process. So please be aware of that. If any members see any other good, inexpensive buck/boost modules on the market, please let me know and I’ll add them to the end of this post. [Don Merz]

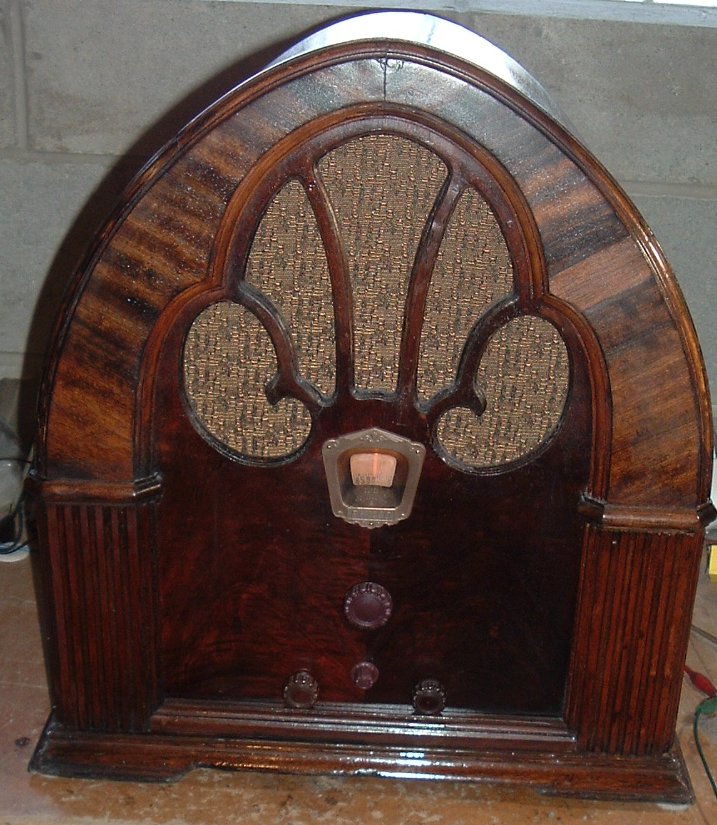
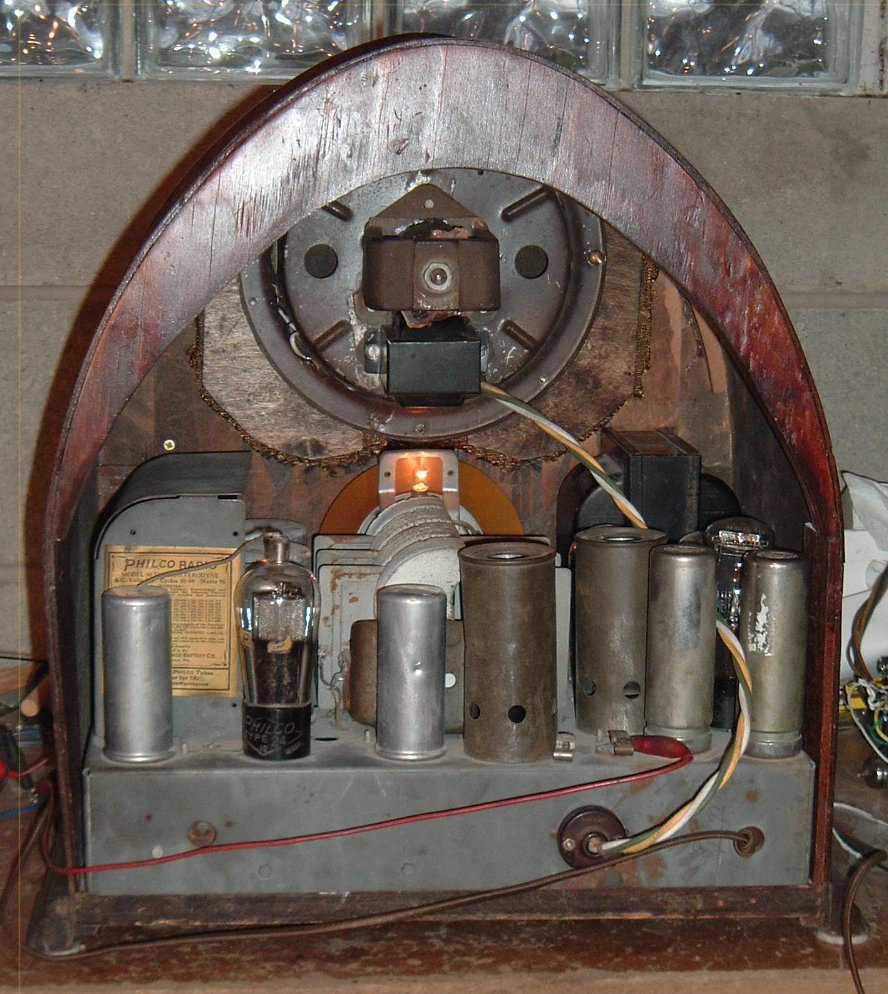
A Philco 90 Restoration by Lou Gaetano
Philco Model 90 – Single Ended # 47 Output Tube, With AVC.
By Lou Gaetano
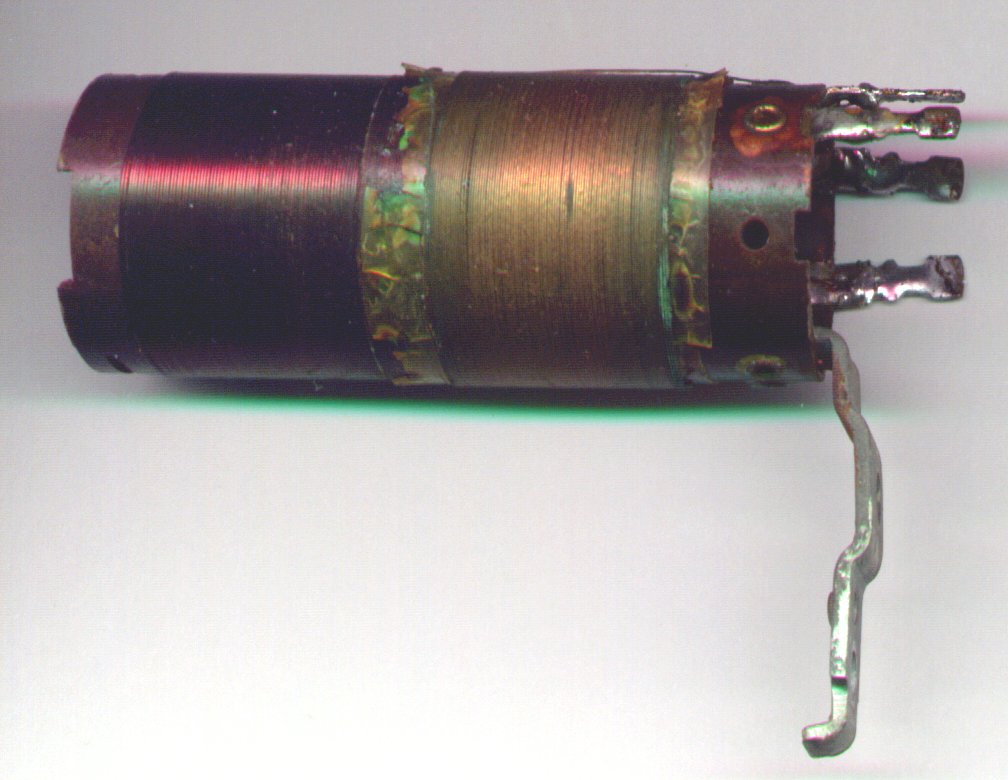
Around 14 years ago, Chris Wells donated a non-working Philco 90 chassis to me. At that time, I repaired the chassis, replaced the guts, capacitors, in all the Bakelite blocks and metal cans and replaced the electrolytic capacitors. Also, I re-wound an RF coil primary that had been apparently been destroyed by the nitric acid formed by decomposition of the celluloid insulator between the windings. This was indicated by the green stuff around the primary winding.
New reproduction tuner support grommets were also installed. After getting the chassis working well, I put it away in a box, hoping to someday find a cabinet to put it in. Well, this sort of becameone of those projects that would probably never get done.
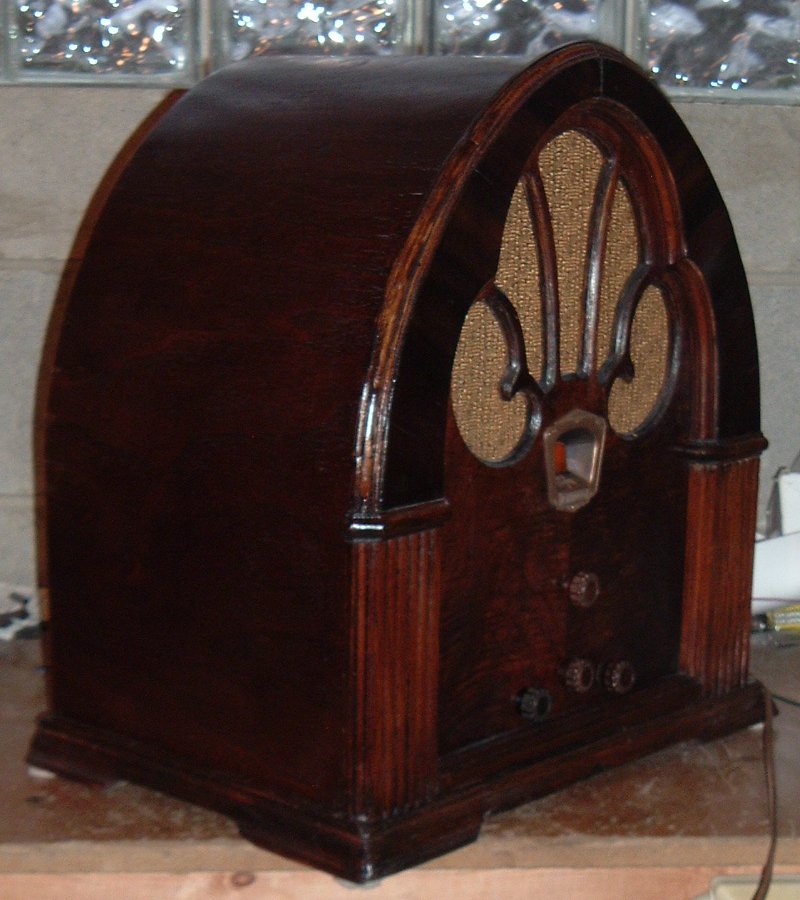
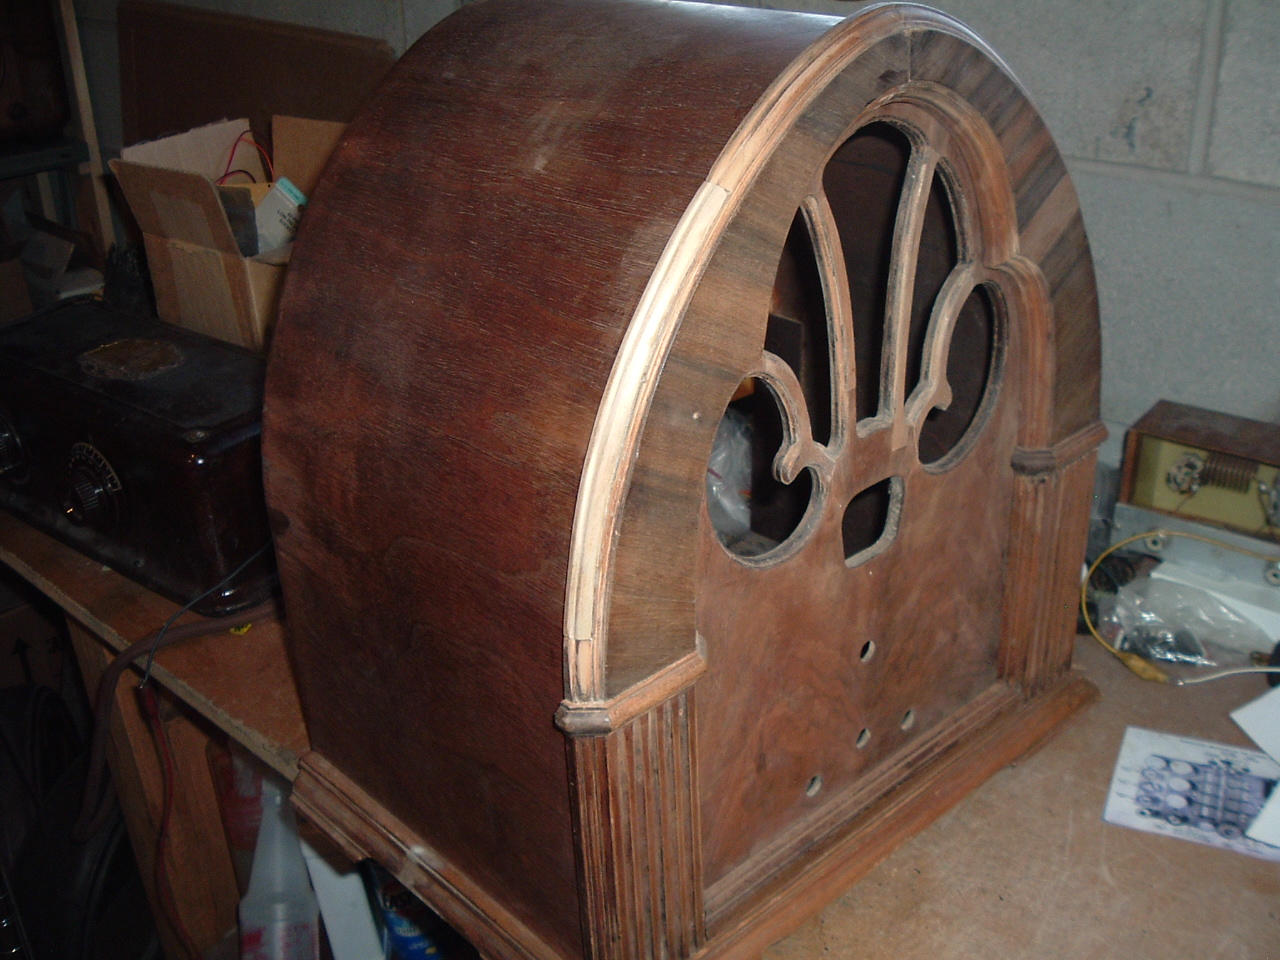
Finally, after all this time, I finally found a cabinet cheap on eBay – all apart in little pieces. Part of the left front outside edge was missing. Thought I’d glue on a piece of wood and find a router bit that would make the correct shape. Turns out that my small collection of router bits did not include correct shapes that I could put together to make the correct edge. I ended up hand carving a piece of wood with a knife to fit in where the part was missing. Not perfect, but it doesn’t catch the eye unless you’re aware to look for it.
Also on eBay, I found a Philco 20 speaker being sold by Dennis Tichy. The cone was a mess and the wire was frayed. I re-wired the speaker and replaced the transformer to accommodate the #47 single ended tube output. Found a New Old Stock cone in my junk pile and installed it. Sounds good. After assembling and gluing the cabinet back together, I sanded, stained and lacquered it. I made a speaker board from 1/4 inch thick plywood, glued new grille cloth to it and assembled the radio.
To plagiarize a term from a PARS Oscillator article by Craig Dawson, this is now sort of a “Franken-Radio”. But – I finally have a Philco 90 in my collection.
President’s Note: Lou is a PARS member of long standing, widely known for his restorations–and for being the kind of person we all want to have a s a friend. He is also the inventor of the FRUBE antique radio power supply.
Silvertone Restoration–A Web Story
From PARS member Mark Hepburn…finding a good restoration candidate radio (a Silvertone 110-146) at the Tri-State Radio Fest and the adventure of the ensuing restoration. As presented at a 2012 PARS meeting.Web Story of a Silvertone